Description
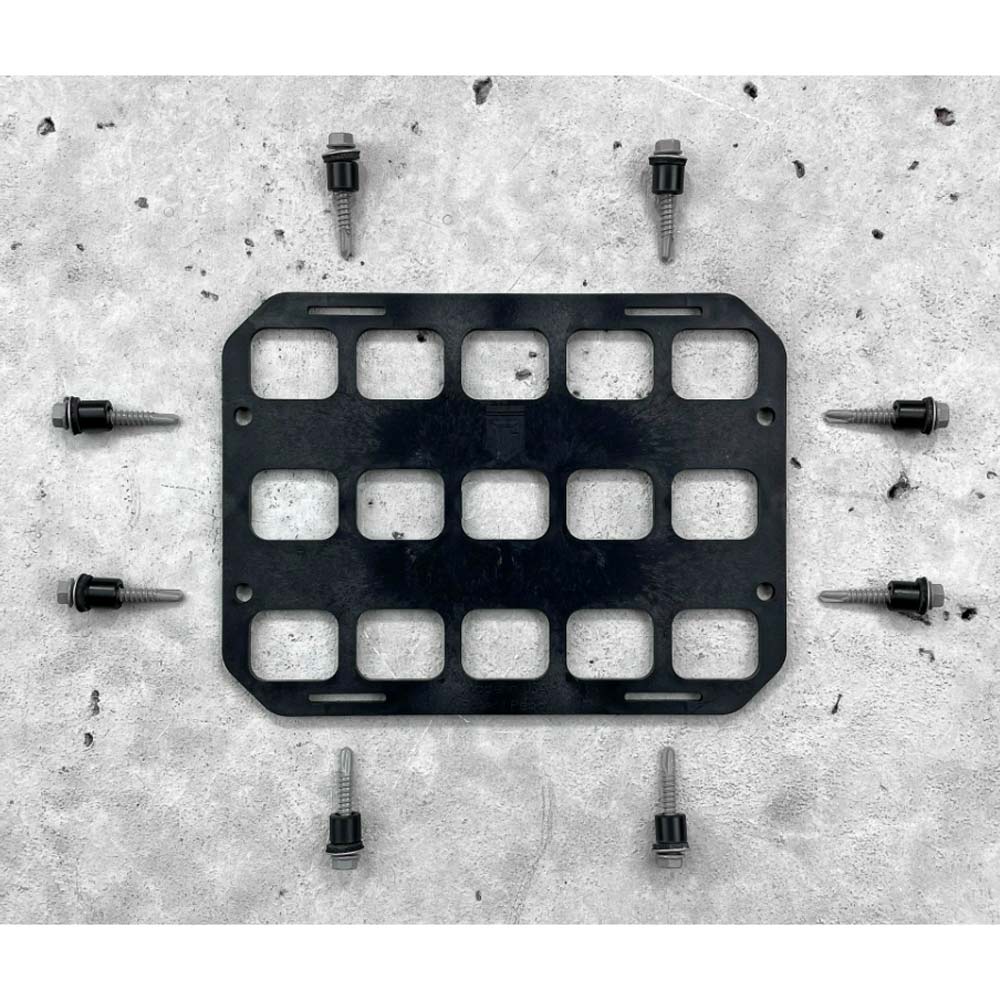
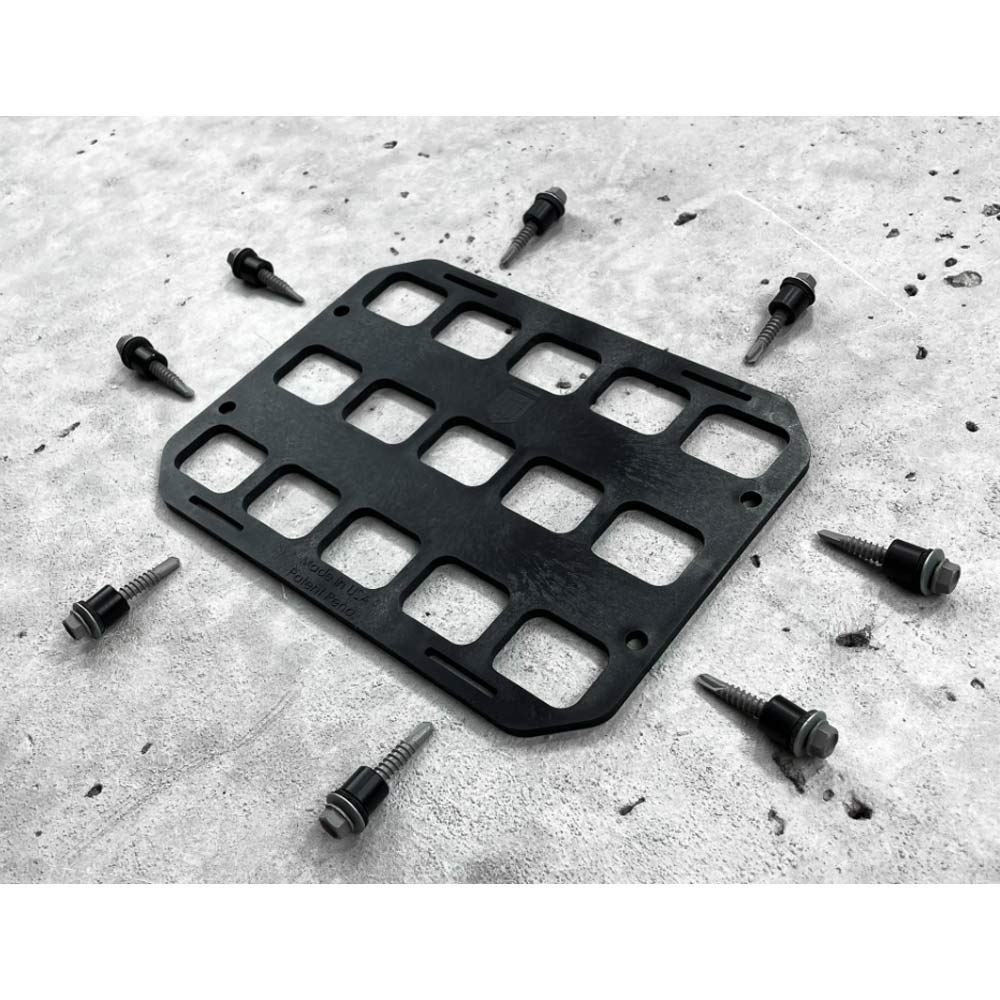
For fastening an RMP™ to a solid surface, purchase our RMP Fastening Kit™ - Self Drilling Screws + Nylon Spacers.
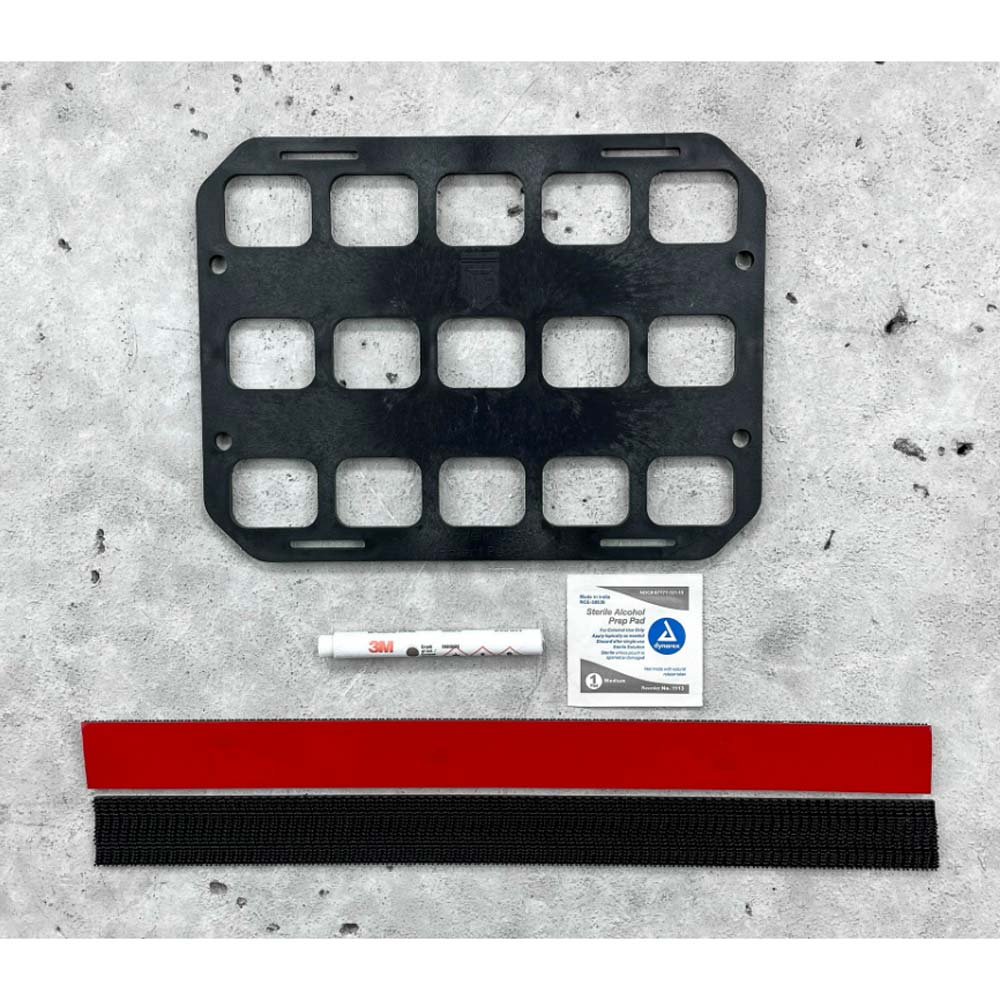
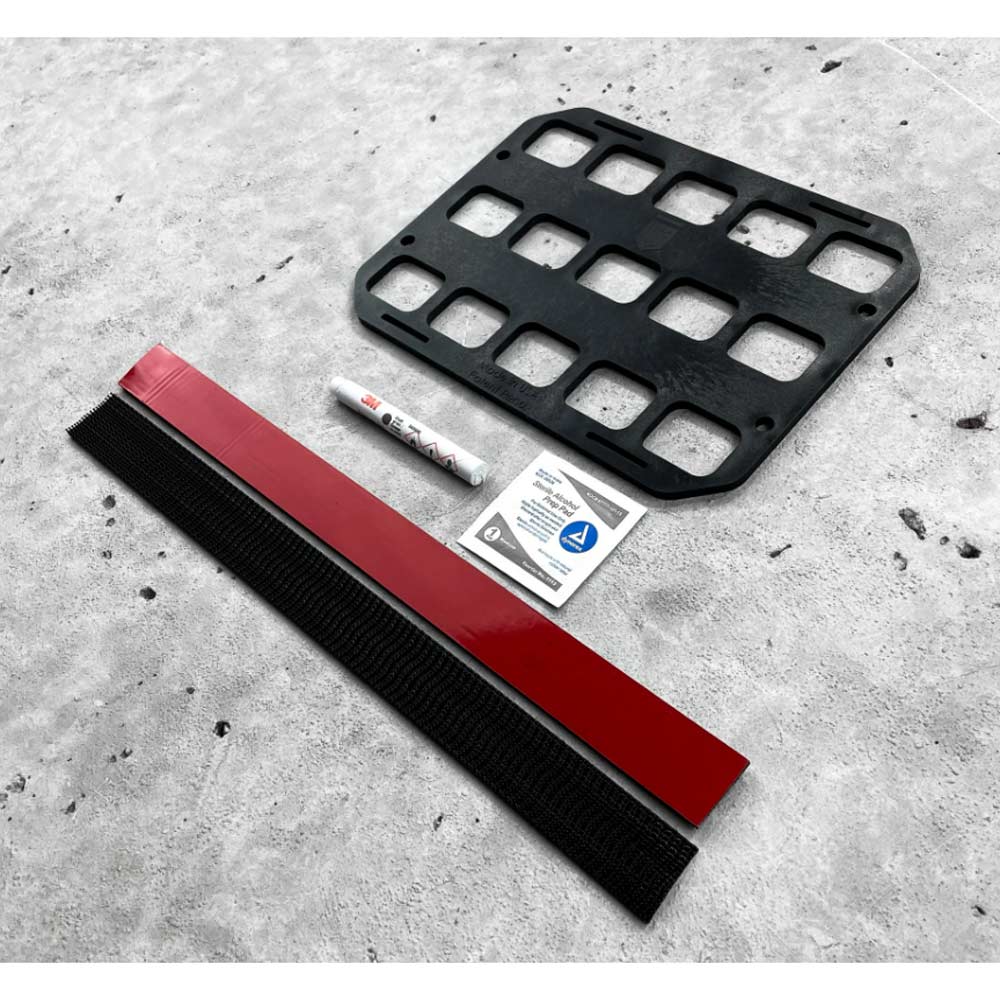
For fastening an RMP™ using adhesive backed fasteners to a vehicle panel, utility case lid, safe door or metal, plastic and glass surfaces, purchase our Adhesive Backed - 3M™ Dual Lock™ Fastener Kit.
To adhere 3M™ Dual Lock™ to an RMP™:
- Insert the self drilling screws through the preferred perimeter holes of the RMP™.
- Next, insert the self drilling screws through the nylon spacers.
- Fasten the self drilling screws into the preferred location of the solid surface. If preferred, a pilot hole may be drilled into solid surface in advance.
For fastening an RMP™ using adhesive backed fasteners to a vehicle panel, utility case lid, safe door or metal, plastic and glass surfaces, purchase our Adhesive Backed - 3M™ Dual Lock™ Fastener Kit.
To adhere 3M™ Dual Lock™ to an RMP™:
- Clean RMP™ surface with an alcohol wipe and let completely dry.
- Apply included 3M™ Primer 94 to the RMP™ surface that the 3M™ Dual Lock™ will be adhered.
- Remove backing from the 3M™ Dual Lock™ strip and press firmly into place on the RMP™.
- Press further with a rolling pin or place heavy weight onto the newly 3M™ Dual Lock™ backed RMP™ to compress and ensure full contact.
- Clean the solid surface with an alcohol wipe and let completely dry.
- After adhering the 3M™ Dual Lock™ onto the RMP™, line up the corresponding 3M™ Dual Lock™ strip and secure in place.
- Remove backing from the 3M™ Dual Lock™ while still secured to the RMP™.
- Line up the RMP™ on the solid surface you desire to attach to your RMP™ and press firmly in place.
- Remove the 3M™ Dual Lock™ backed RMP™ carefully to avoid lifting the 3M™ Dual Lock™ that is adhered to your solid surface.
- Press further with a rolling pin or place heavy weight onto your newly 3M™ Dual Lock™ lined solid surface to compress and ensure full contact.
- For stronger adhesion, apply heat from a hair dryer to warm up the surface and the adhesive, enabling the adhesive to liquefy enough to seep into the surface for a better bond.
- For easier handling or application, it is recommended to cut the 3M™ Dual Lock™ into 1" squares or 1" x 2" strips.
Package contents:
- Qty 1 - 8 X 6 RMP™
- Optional - Qty 1 - Adhesive Backed - 3M™ Dual Lock™ Fastener Kit or Qty 1 - RMP Fastening Kit™ - Self Drilling Screws + Nylon Spacers
Compatibility:
- Any solid surface with dimensions equal to or greater than 8" wide X 6" tall
Specifications:
- Width: 8"
- Height: 6"
- Thickness: 0.188"
- Weight: Self Drilling Screws + Nylon Spacers: 6.70 ounces
- Qty 1 - 3M™ Dual Lock™ Fastener Kit: 6.35 ounces
- MATERIAL Injection Molded Glass Filled Nylon
- SKU: Self Drilling Screws + Nylon Spacers: 000286
- Qty 1 - 3M™ Dual Lock™ Fastener Kit: 000287
- UPC Self Drilling Screws + Nylon Spacers: 00850022713002
- Qty 1 - 3M™ Dual Lock™ Fastener Kit: 00850022713019


